Fixing Smart Grid Gear Without Burning the House Down
When you’re staring at a smart grid PCB, you’re looking at a nightmare of high-density layouts and layers upon layers of substrate. You can’t just blast it with heat and hope for the best. The real trick is hitting a tiny, specific temperature window on one spot without accidentally cooking every other component on the board.
The struggle with heat
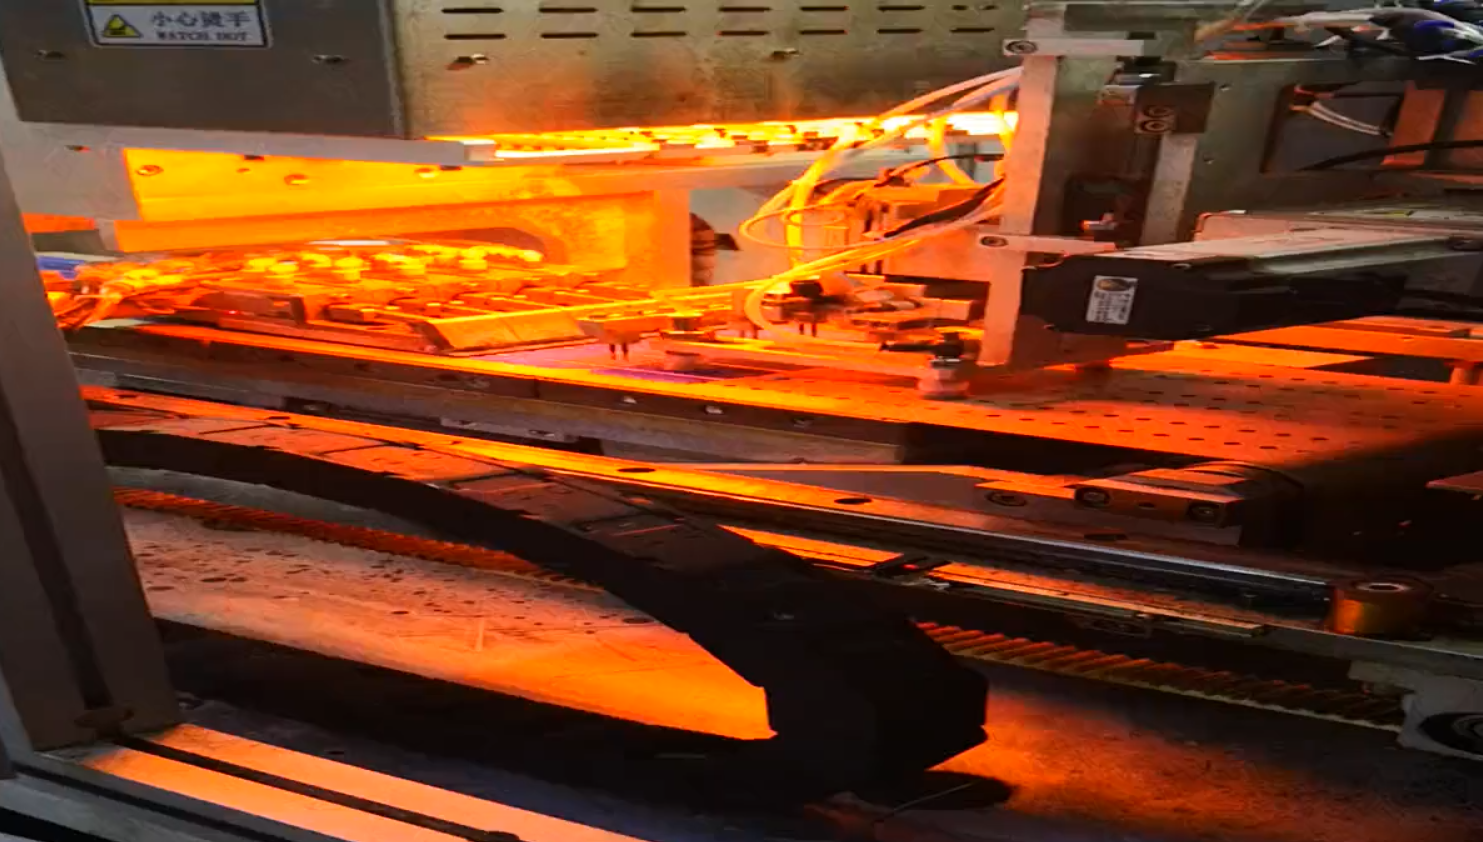
Forget those generic heat guns. They’re too blunt for this kind of work. We’ve moved toward targeted infrared and conduction heaters because you need to control the “gradient”—basically, how the heat spreads. You’re aiming for that sweet spot where lead-free solder actually melts (usually around 217°C to 220°C). But here’s the catch: your capacitors and ICs have a breaking point. If you take too long to get the board hot, you get nasty intermetallic growth. Too fast? You’ll warp the board right in front of you. It’s a balancing act.
Getting the profile right
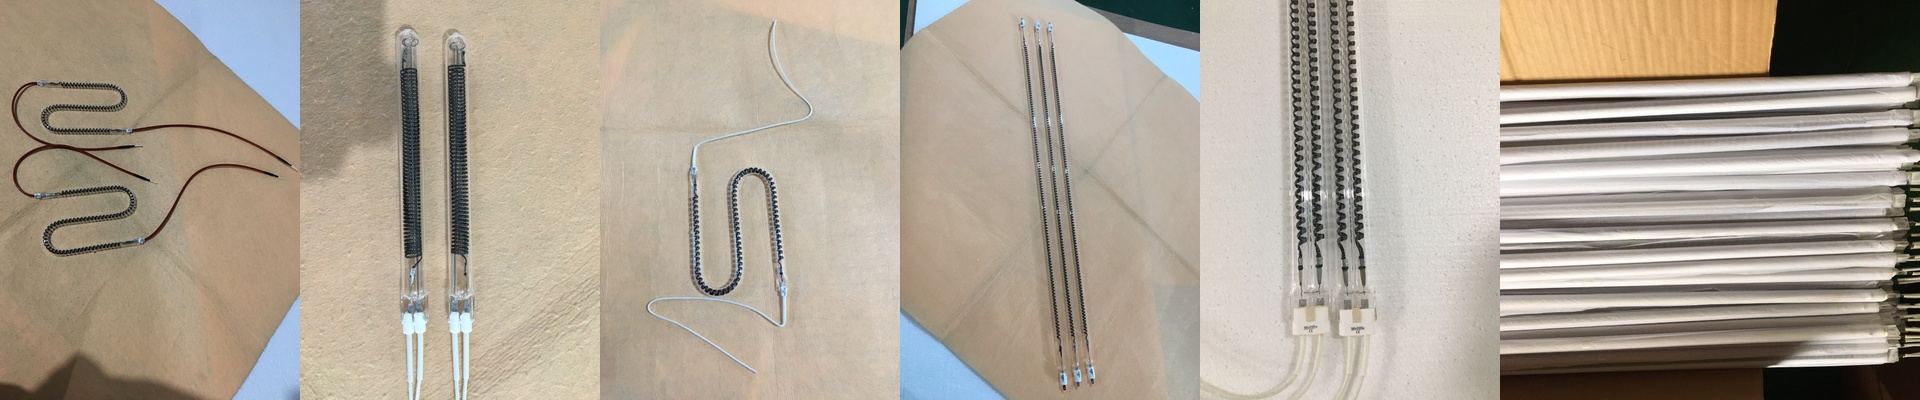
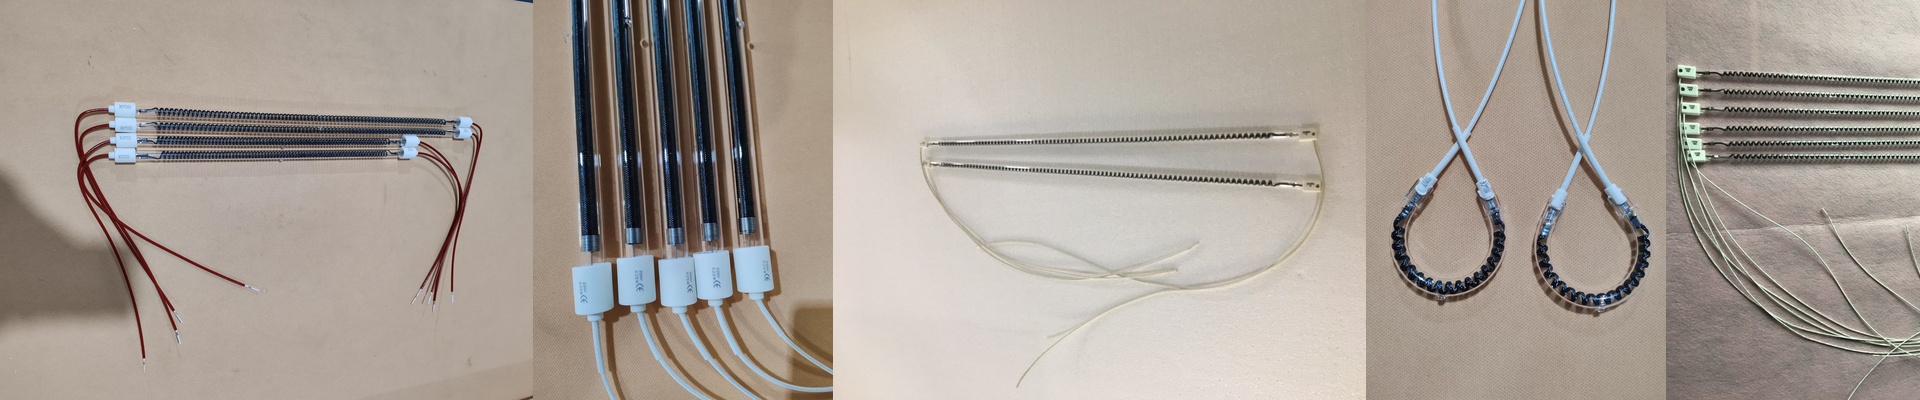
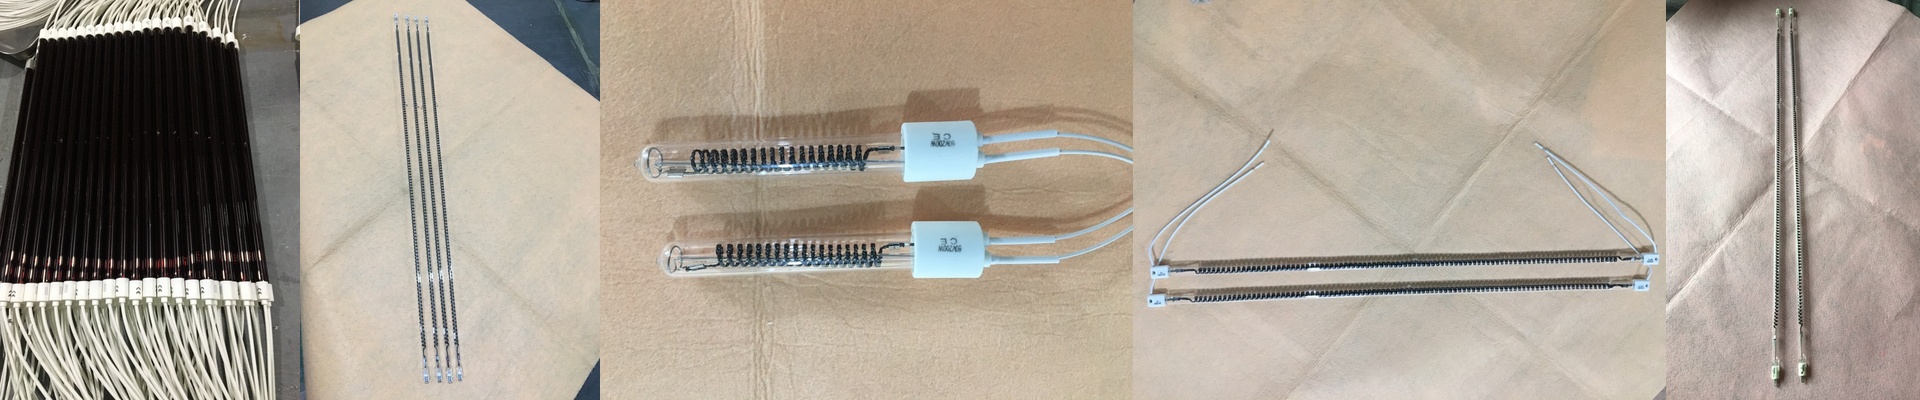
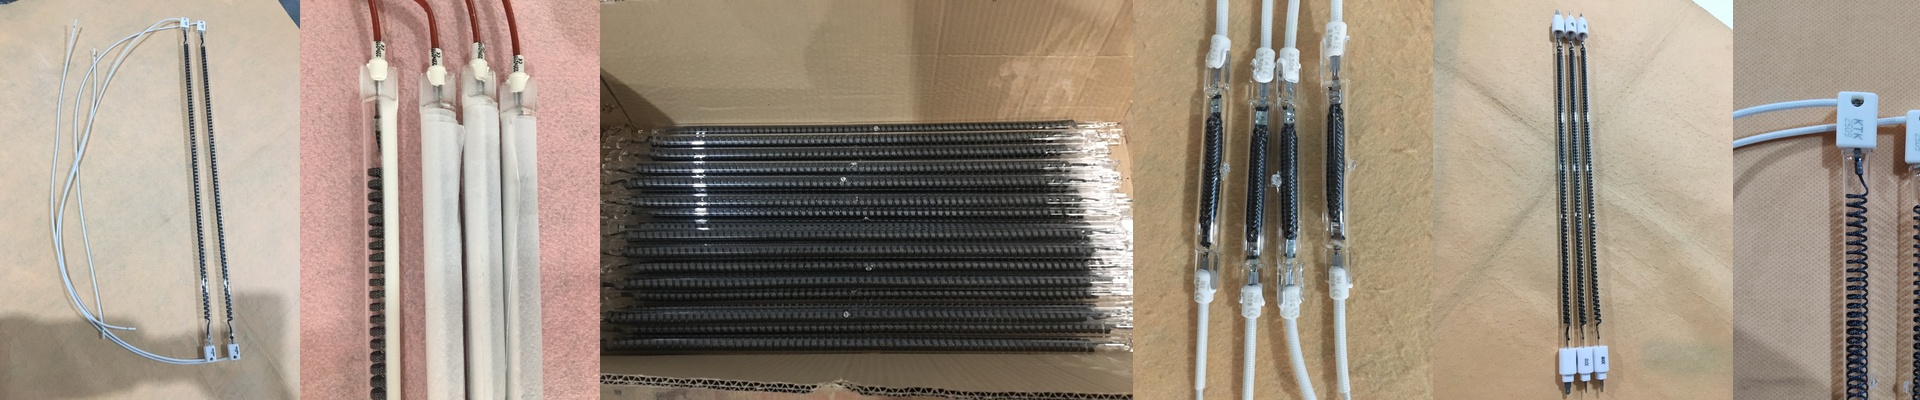
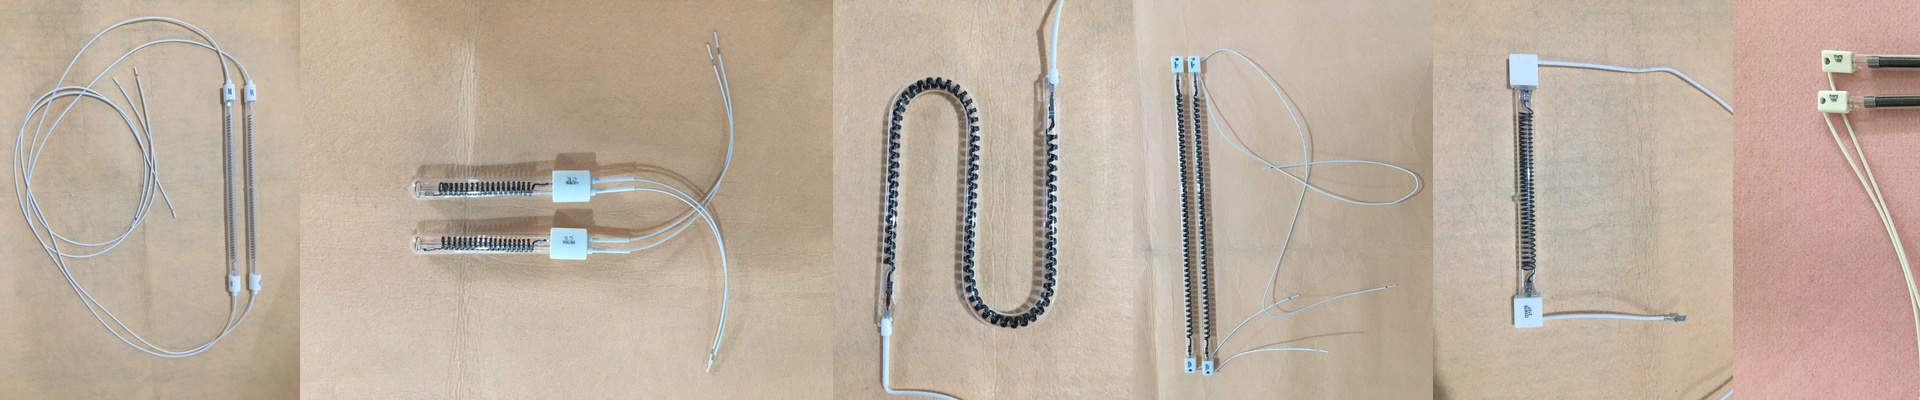
We build our heaters to ramp up quickly and stay incredibly steady. We use PID controllers that tweak the power every few milliseconds. Why? Because you need a flat thermal profile. If your heater block has one “hot spot,” you’re asking for uneven reflow or—even worse—solder bridging. We use high-grade alloys in the elements to make sure the heat is spread evenly across the entire footprint.
The trade-offs
Sure, high-wattage precision heaters mean you can fly through large smart grid modules and get them out the door faster. But there’s a downside. When you crank up the power density, your ventilation and fume extraction have to work way harder. You can’t just run these in a stagnant room, or the heat will creep back into the tool’s own electronics and fry them. The best part is that these are designed as drop-in replacements. You just wire them into your existing 110V or 220V lines, and suddenly you have digital control over every degree. It’s not about just cranking up the heat. It’s about actually owning the energy.