Getting the Heat Right for Smart Meter PCBs
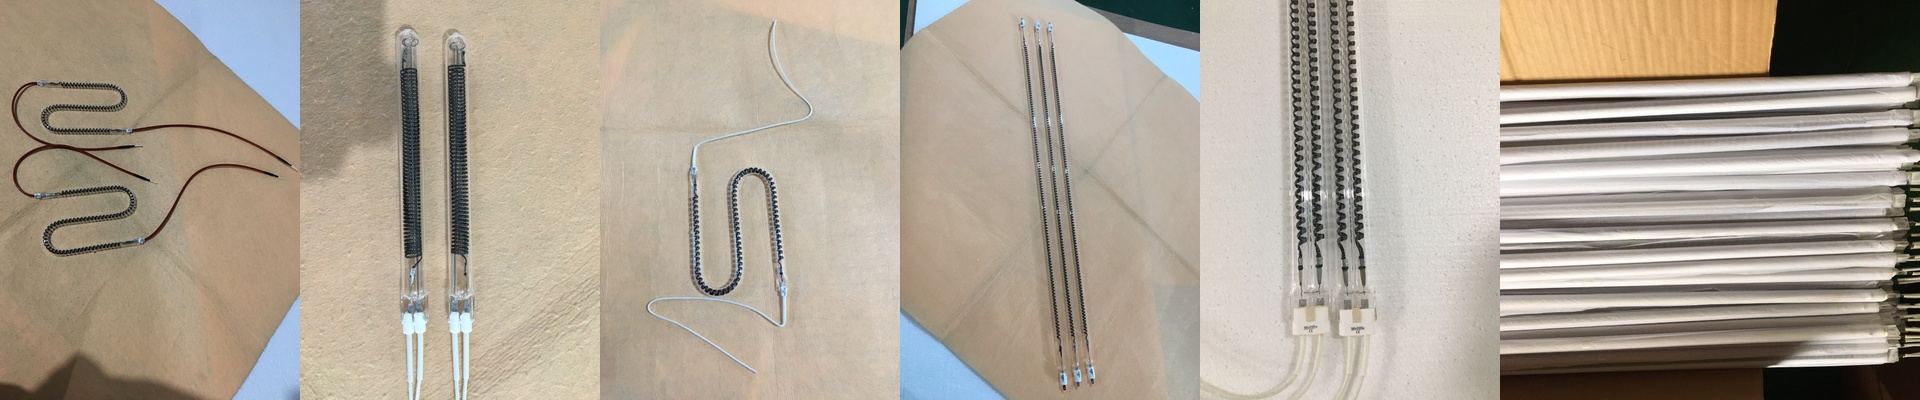
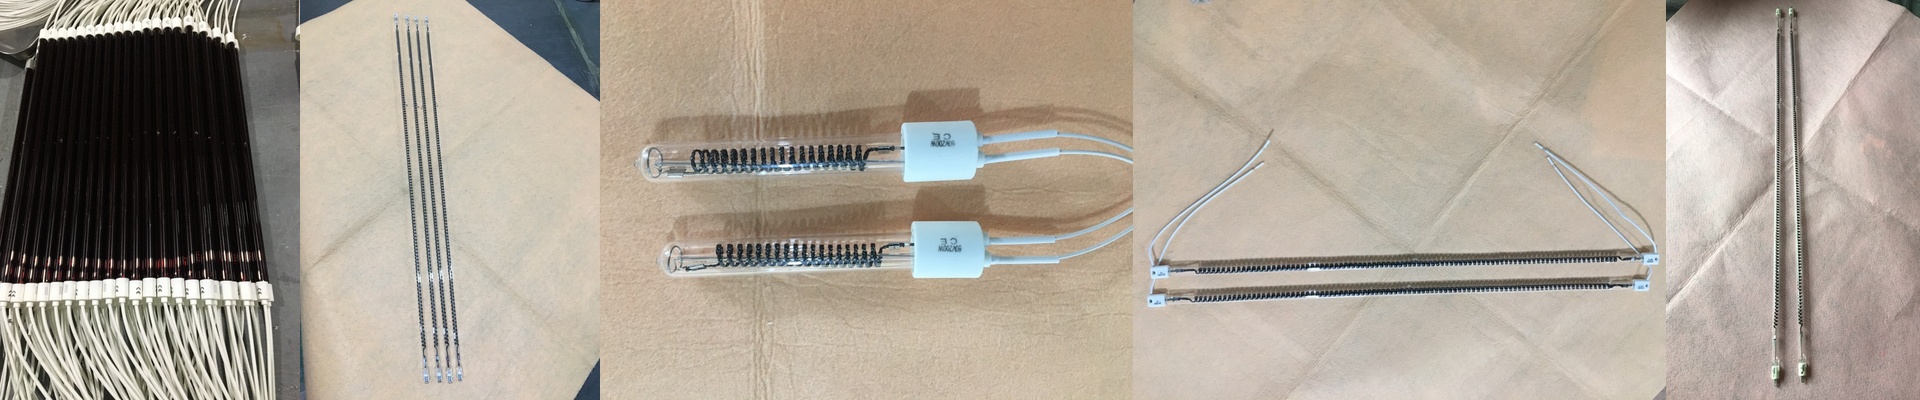
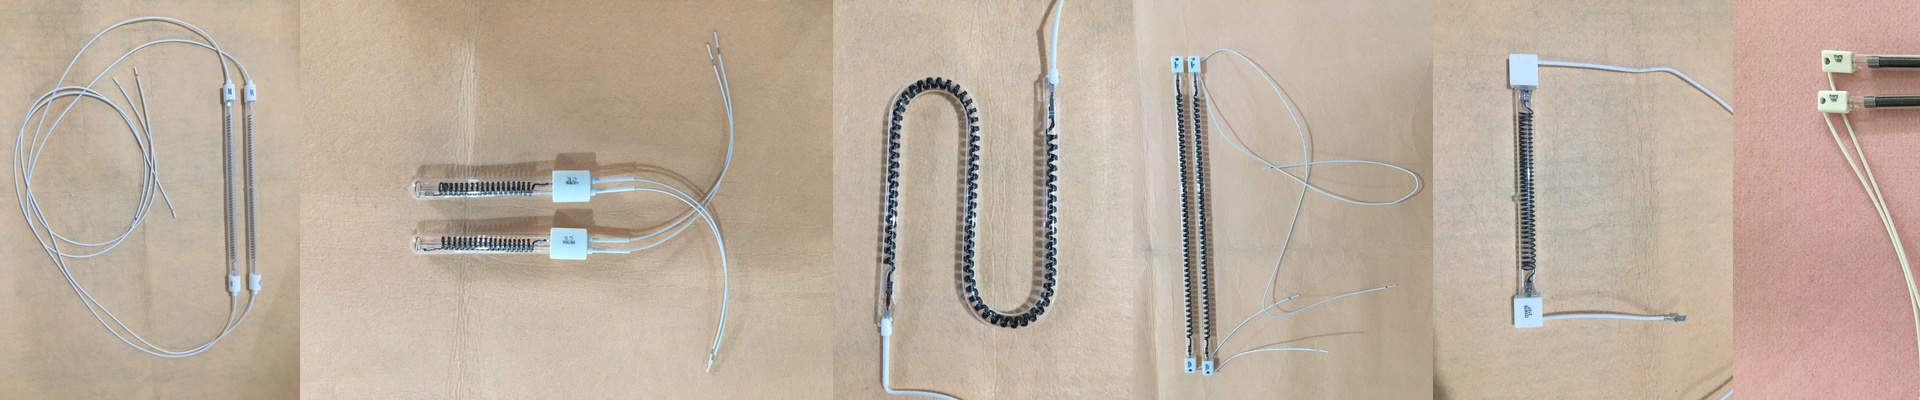
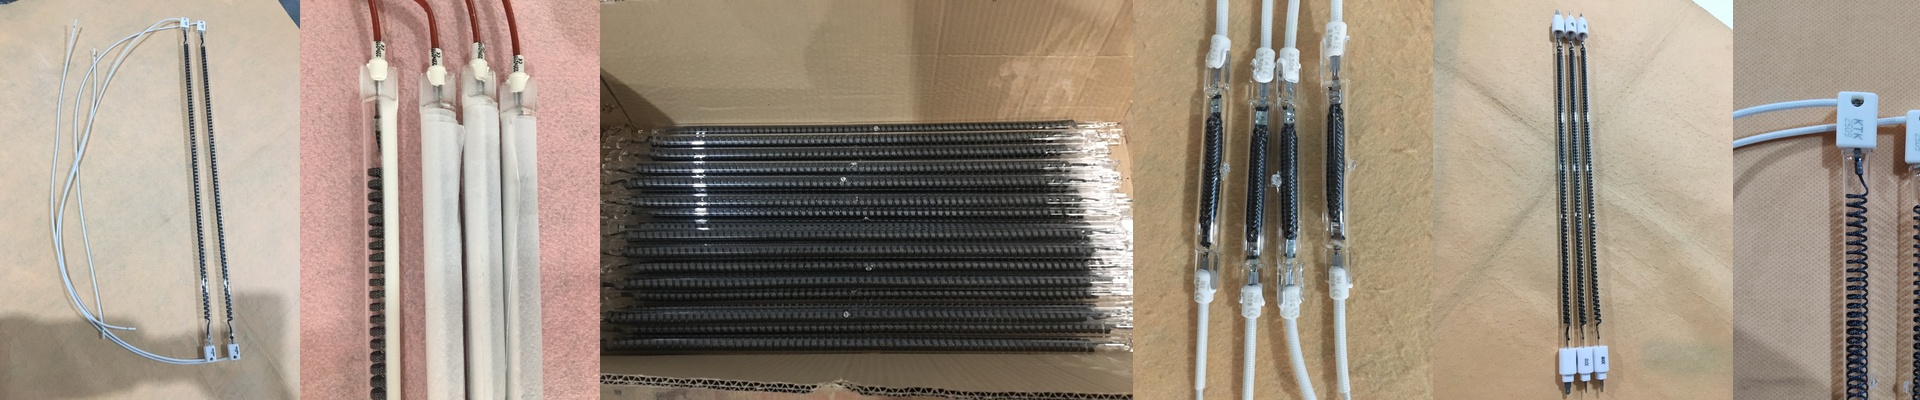
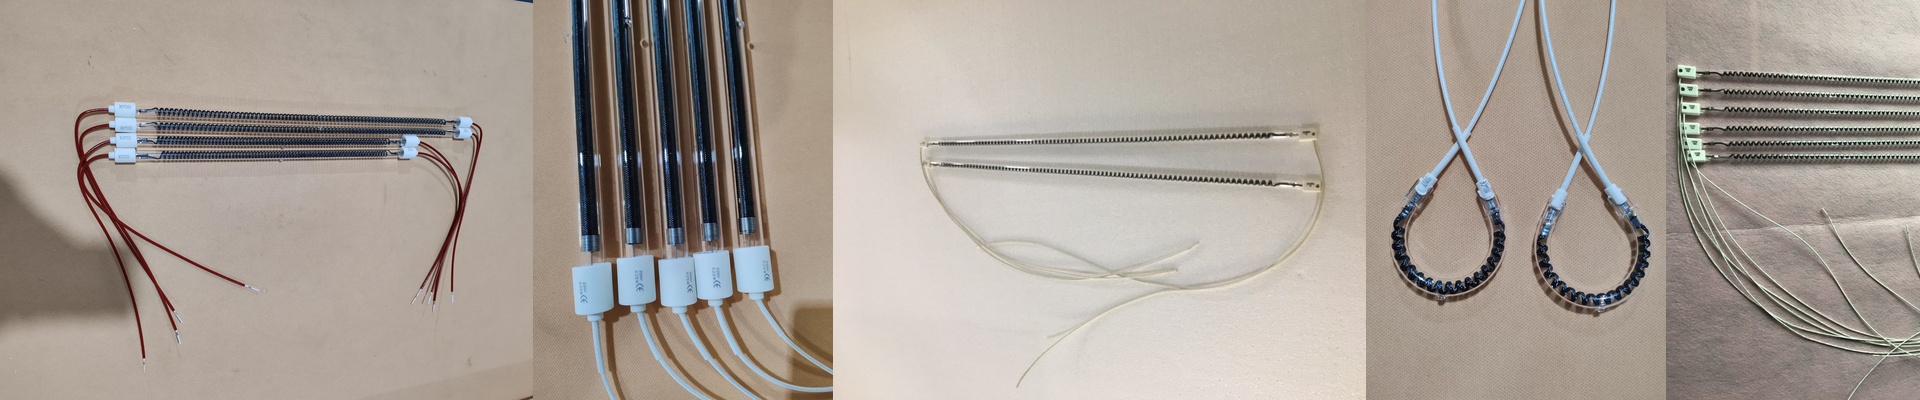
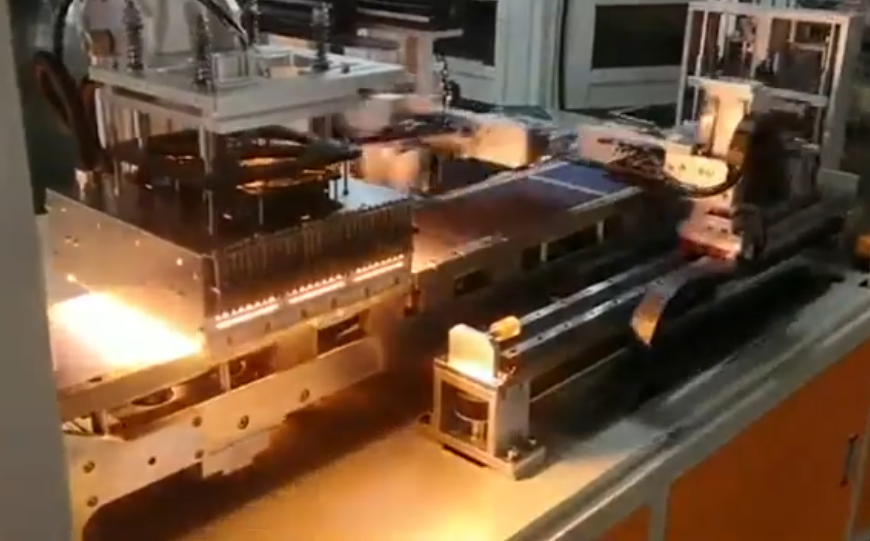
Smart meter boards are crowded. You’ve got components packed in tight, which makes standard convection ovens a bit of a nightmare. They tend to leave some spots cold and others too hot because the air just can’t get everywhere. That’s why we use short-wave infrared (IR) lamps. Instead of baking the whole chassis like a potato, we can hit exactly where the heat needs to go.
Let’s talk power and voltage
When we pick out these lamps, the first thing we look at is how fast you need to ramp up. If you’re running a high-volume line, you want high-wattage tubes that hit curing temps in a few seconds. But here is the catch: your voltage has to be spot on. If it doesn’t match your power supply perfectly, the lamps will flicker or just burn out way too soon. It’s a frustrating waste of money.
Quartz and keeping components safe
We use high-purity quartz glass because it lets the IR light through without blocking it. For PCB work, we usually add a special coating to the tube. This is the clever part. The coating shifts the heat spectrum so it matches how your solder mask or adhesive actually absorbs energy. It stops the top components from frying while the joints on the bottom are still freezing. One quick tip: you can use standard industrial connectors, but please, double-check your tolerances. A loose socket creates a hot spot, and that’s a great way to melt your housing.
The trade-offs
IR heating is fast. Really fast. But that speed can bite you. If your conveyor timing is off by even a couple of seconds, you might scorch the board. You can’t wing it. You need a solid PID controller and a reliable thermocouple setup to keep things steady. We don’t just put a lamp in a box and ship it to you. We actually sit down and help you figure out the exact distance between the tube and the board. If the heat flux is too aggressive, you’ll blow right past your material’s thermal limit. Getting that balance between heat density and dwell time is where the magic happens.