Stop Burning Your Boards: The Right Way to Heat Smart Locks
Ever tried using a standard heating lamp to fix a smart lock? It usually ends in disaster. You either spend forever waiting for things to warm up, or you accidentally melt the plastic housing and fry the electronics. It’s a nightmare. The trick isn’t just “adding heat.” It’s about putting the heat exactly where it needs to go without ruining everything around it.
Speed is Everything
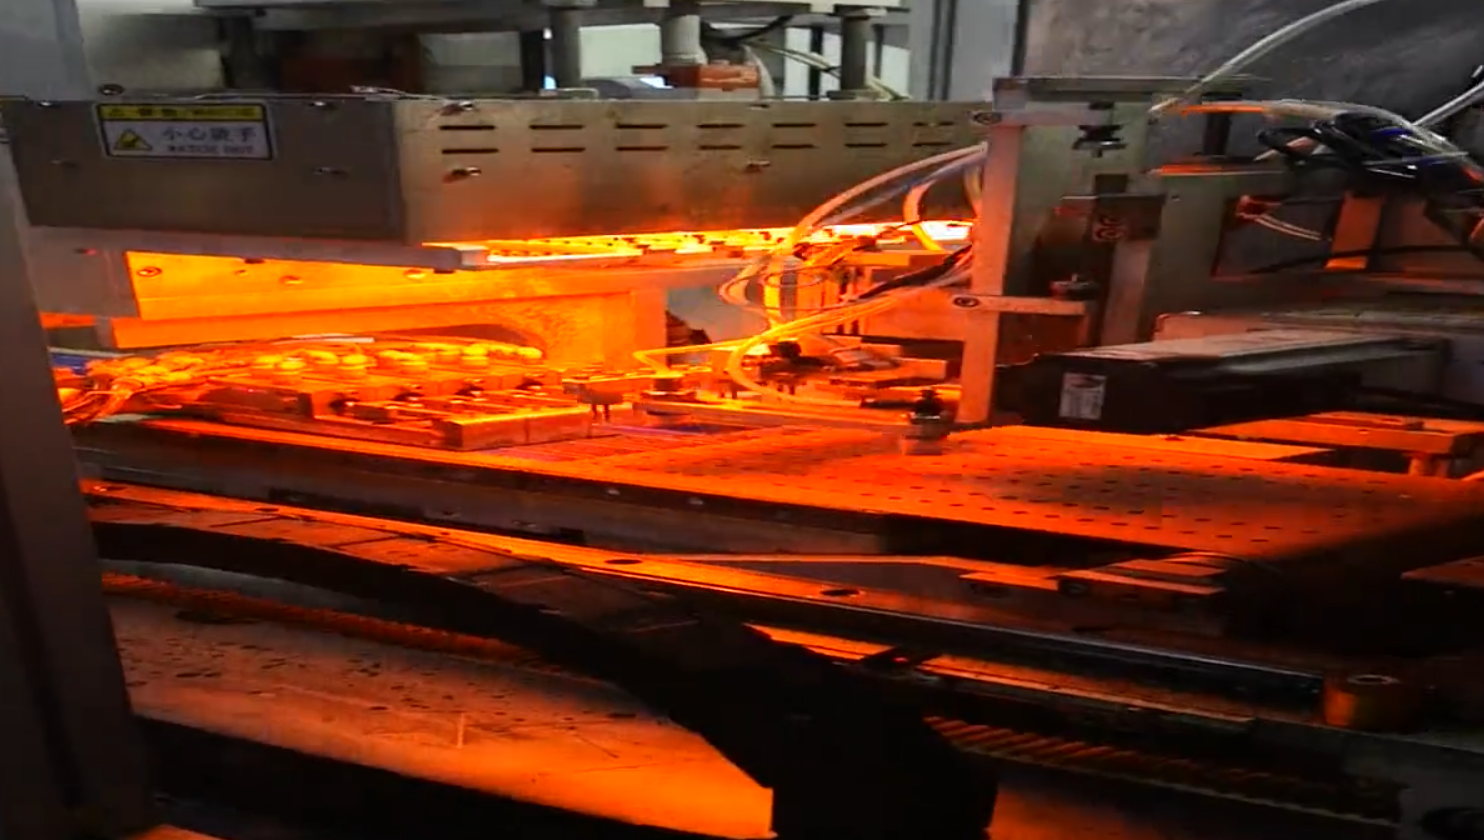
When we’re reworking these locks, we lean on short-wave infrared lamps. Why? Because they’re fast. Like, really fast. You want to hit that solder melting point in a few seconds. If you take too long, you get “heat soak.” That’s when the heat starts wandering across the board, killing off capacitors that had nothing to do with the problem in the first place. But be careful. If you crank the wattage too high on a tiny area, you’ll burn the traces right off the board. That’s why your cooling fans have to be on point—they need to yank that excess heat away the second you hit your target temp.
The Gear That Actually Works
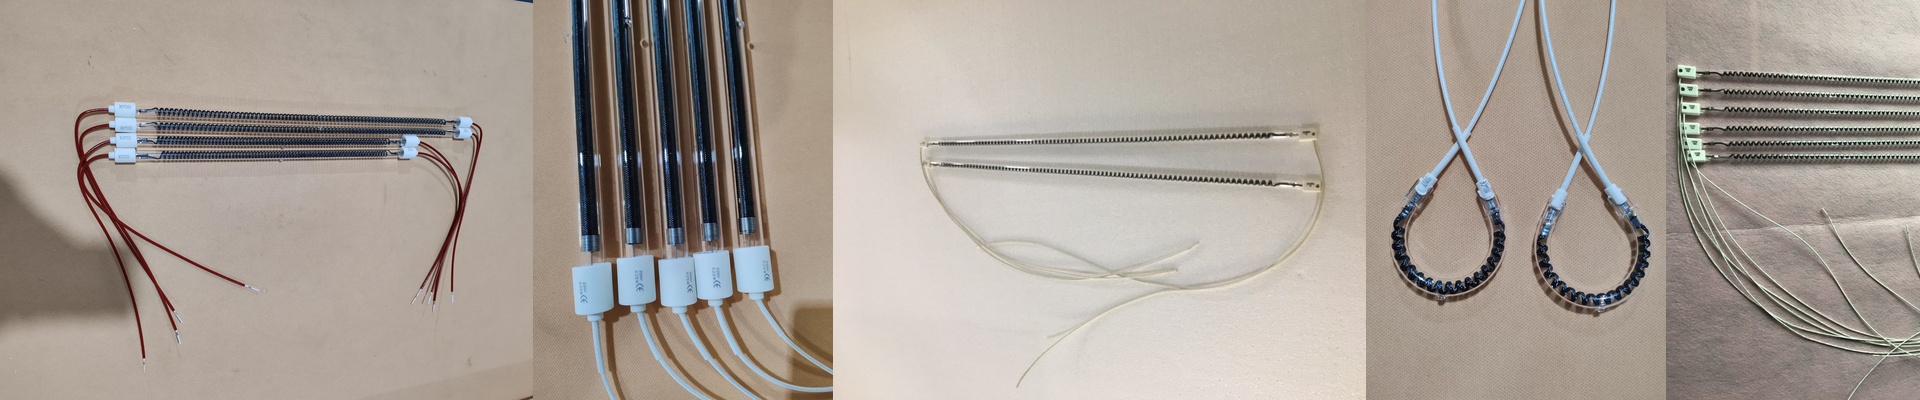
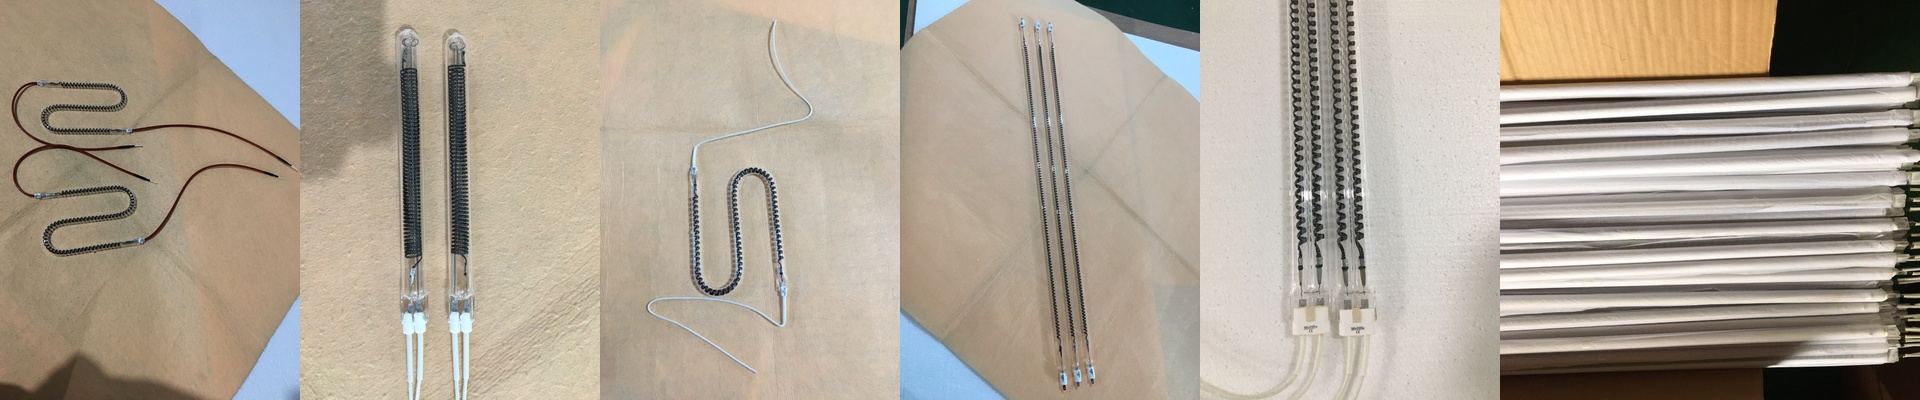
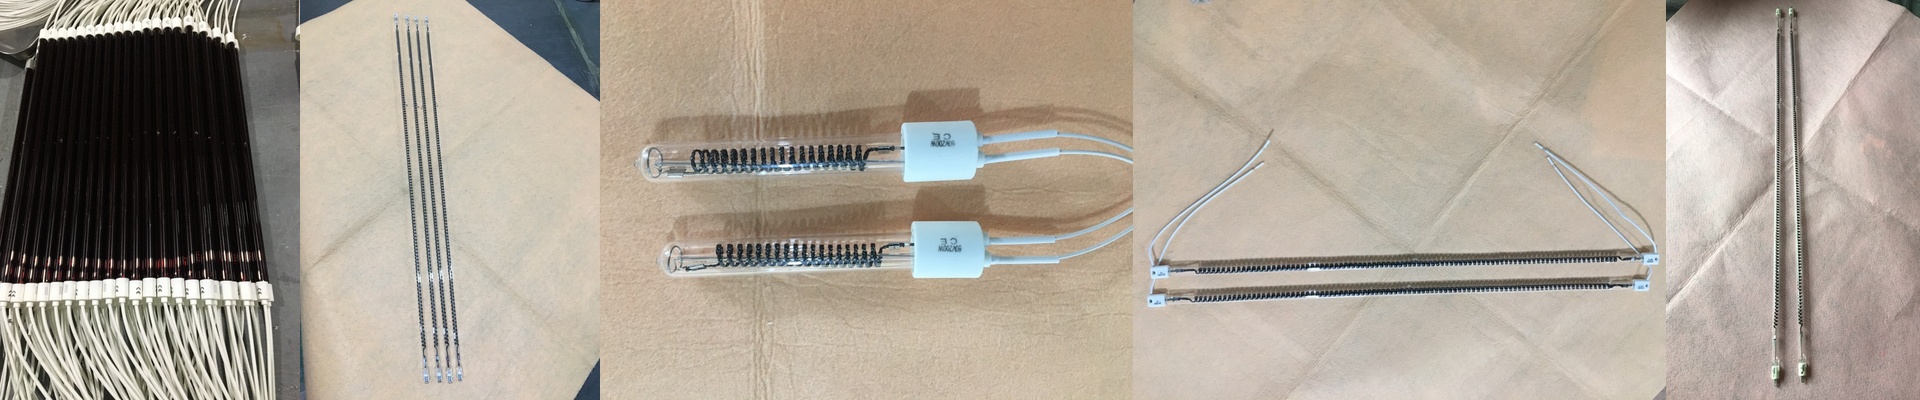
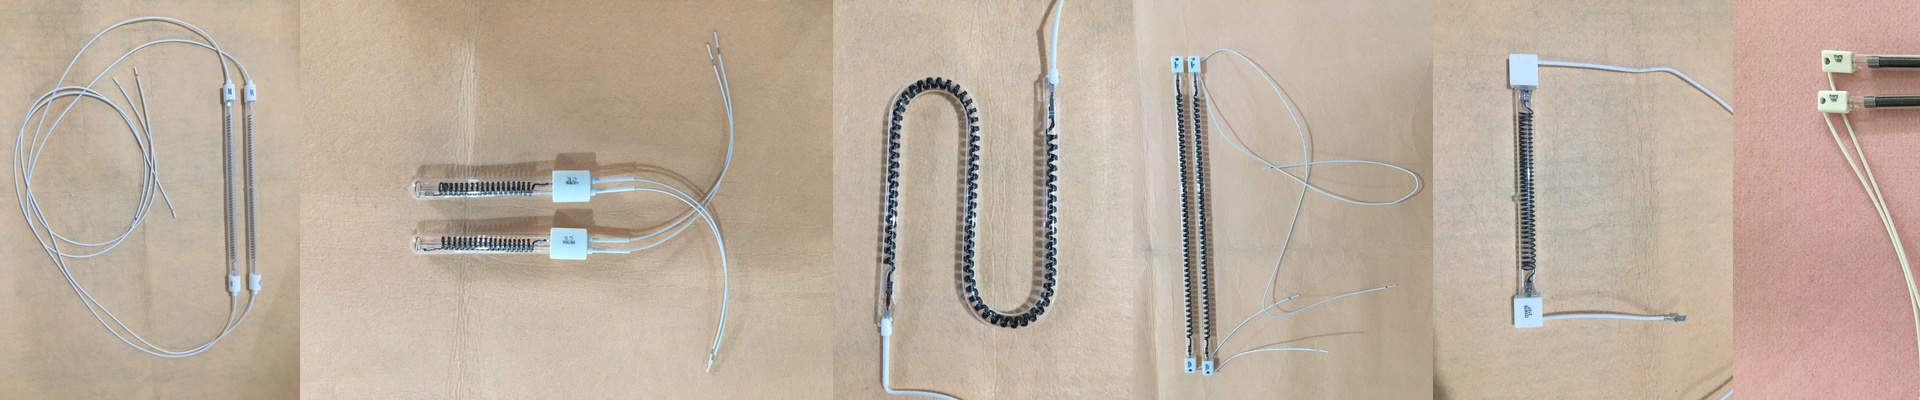
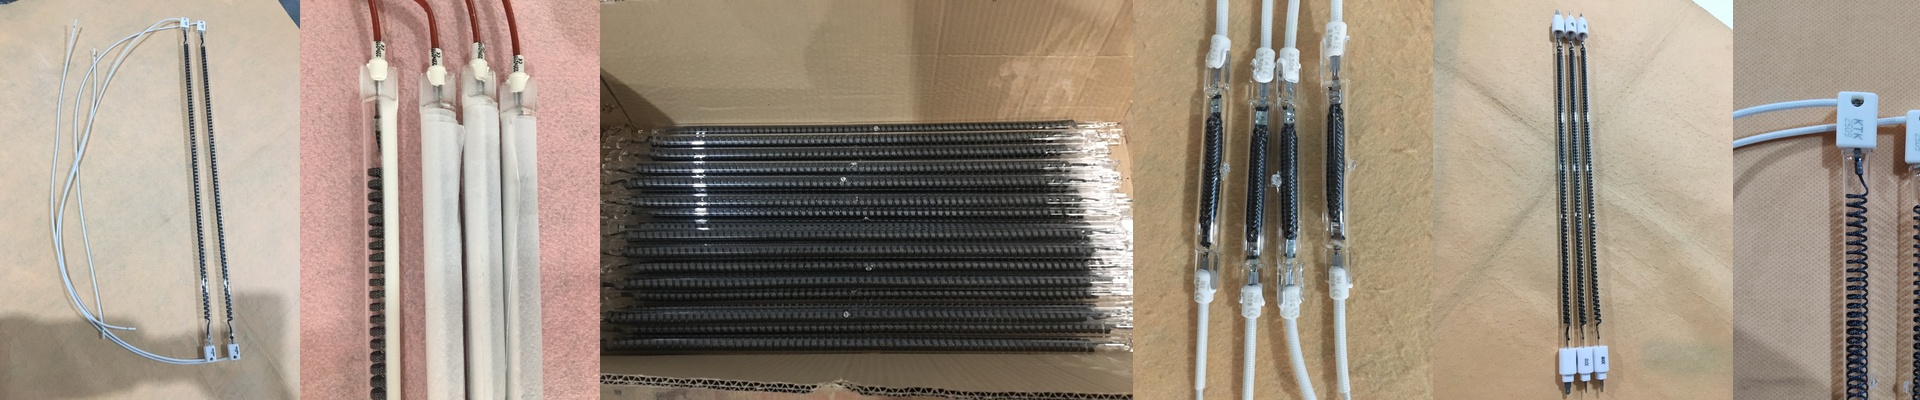
We use quartz glass tubes with special coatings. Instead of just baking the surface of the chip, the energy actually sinks deep into the solder joint. And because we use standard R7s or Sk15 connectors, swapping them out is a breeze. No messy wiring, no guessing games during maintenance. Plus, quartz is tough. You can jump from room temperature to 300°C and the tubes won’t crack under the pressure.
Making the Process Cleaner
The best part? You can desolder chips without a manual iron. No more slipping with the tip and scratching the mask. It’s just… cleaner. There is a catch, though. The setup takes a bit of patience. You have to get the distance between the lamp and the board exactly right. Even a couple of millimeters can totally change how the heat hits. But once you find that sweet spot? You’ll get a clean lift every single time.